harmony 鸿蒙相机基础动效(ArkTS)
相机基础动效(ArkTS)
在使用相机过程中,如相机模式切换,前后置镜头切换等场景,不可避免出现预览流替换,为优化用户体验,可合理使用动效过渡。本文主要介绍如何使用预览流截图,并通过ArkUI提供的显示动画能力实现下方三种核心场景动效:
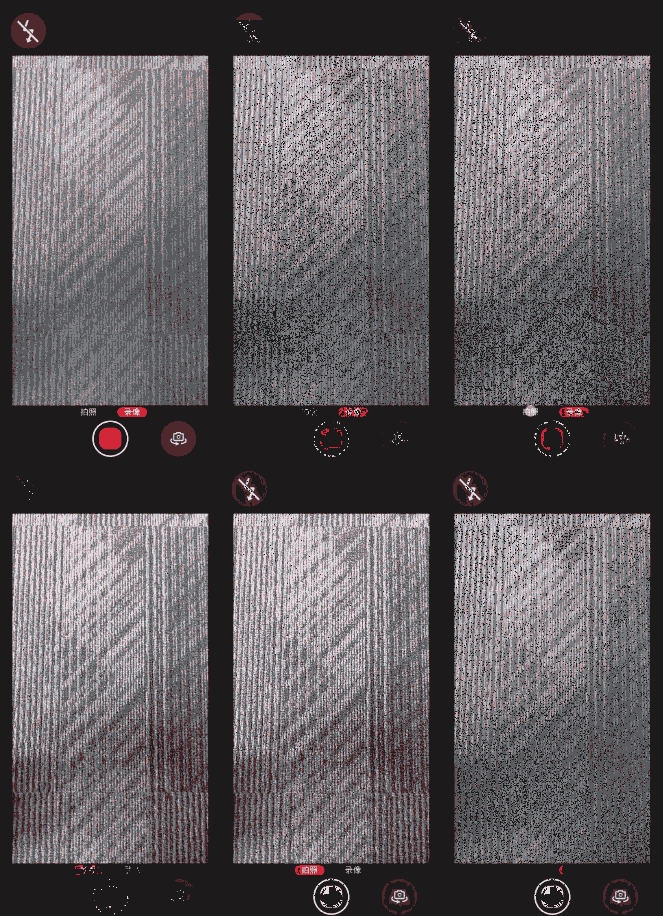
- 模式切换动效,使用预览流截图做模糊动效过渡。
图片为从录像模式切换为拍照模式的效果。

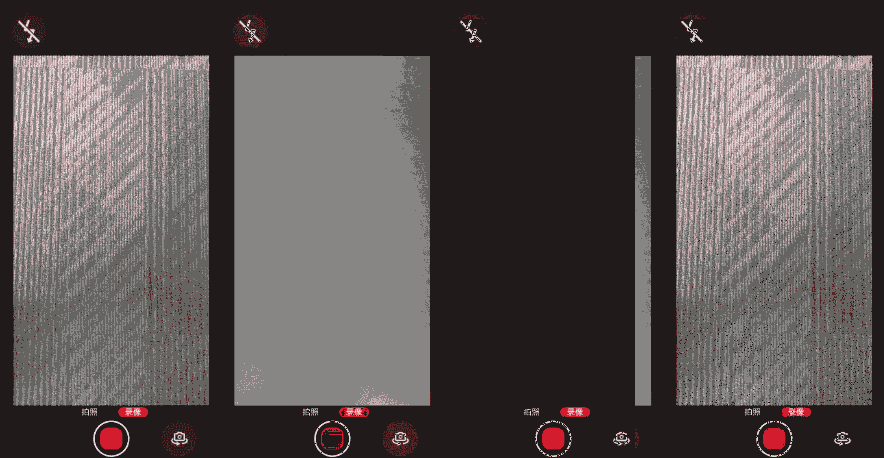
- 前后置切换动效,使用预览流截图做翻转模糊动效过渡。
图片为从前置相机切换为后置相机的效果。

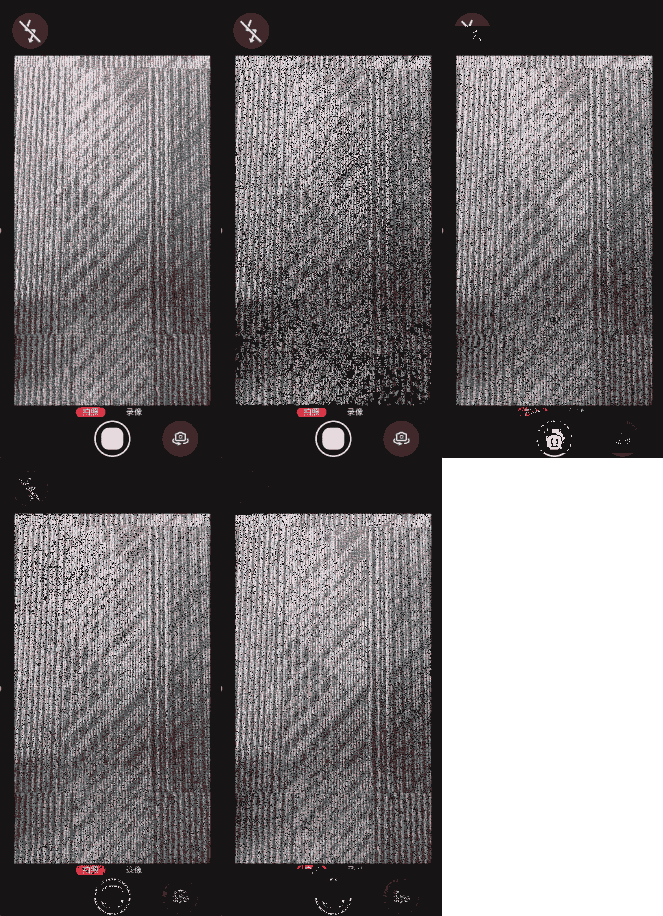
- 拍照闪黑动效,使用闪黑组件覆盖预览流实现闪黑动效过渡。
图片为点击完成拍摄的效果。

闪黑动效
使用组件覆盖的形式实现闪黑效果。
以下所有步骤中的示例代码均为自定义组件(即被@Component修饰的组件)的内部方法或逻辑。
- 导入依赖,需要导入相机框架、图片、ArkUI相关领域依赖。
import { curves } from '@kit.ArkUI';
- 构建闪黑组件。
此处定义一个闪黑组件,在拍照闪黑及前后置切换时显示,用来遮挡XComponent组件。
属性定义:
   @State isShowBlack: boolean = false; // 是否显示闪黑组件。
   @StorageLink('captureClick') @Watch('onCaptureClick') captureClickFlag: number = 0; // 拍照闪黑动效入口。
   @State flashBlackOpacity: number = 1; // 闪黑组件透明度。
闪黑组件的实现逻辑参考:
   // 拍照闪黑及前后置切换时显示,用来遮挡XComponent组件。
   if (this.isShowBlack) {
     Column()
       .key('black')
       .width(this.getUIContext().px2vp(1080)) // 与预览流XComponent宽高保持一致,图层在预览流之上,截图组件之下。
       .height(this.getUIContext().px2vp(1920))
       .backgroundColor(Color.Black)
       .opacity(this.flashBlackOpacity)
   }
- 实现闪黑动效。
   // @Component修饰组件的内部方法
   flashBlackAnim() {
     console.info('flashBlackAnim E');
     this.flashBlackOpacity = 1; // 闪黑组件不透明。
     this.isShowBlack = true; // 显示闪黑组件。
     animateToImmediately({
       curve: curves.interpolatingSpring(1, 1, 410, 38),
       delay: 50, // 延时50ms,实现黑屏。
       onFinish: () => {
         this.isShowBlack = false; // 闪黑组件下树。
         this.flashBlackOpacity = 1;
         console.info('flashBlackAnim X');
       }
     }, () => {
       this.flashBlackOpacity = 0; // 闪黑组件从不透明到透明。
     })
   }
- 触发闪黑动效。
点击或触控拍照按钮,更新StorageLink绑定CaptureClick的值,触发onCaptureClick方法,动效开始播放。
   onCaptureClick(): void {
     console.info('onCaptureClick');
     this.flashBlackAnim();
   }
模糊动效
通过预览流截图,实现模糊动效,从而完成模式切换,或是前后置切换的动效。
以下除了步骤2的其他步骤中的示例代码均为自定义组件(即被@Component修饰的组件)的内部方法或逻辑。
- 导入依赖,需要导入相机框架、图片、ArkUI相关领域依赖。
   import { camera } from '@kit.CameraKit';
   import { image } from '@kit.ImageKit';
   import { curves } from '@kit.ArkUI';
- 获取预览流截图。
预览流截图通过图形提供的image.createPixelMapFromSurface接口实现,surfaceId为当前预览流的surfaceId,size为当前预览流profile的宽高。创建截图工具类(ts文件),导入依赖,导出获取截图方法供页面使用,截图工具类实现参考:
   export class BlurAnimateUtil {
     public static surfaceShot: image.PixelMap;

     /**
      * 获取surface截图
      * @param surfaceId
      * @returns
      */
     public static async doSurfaceShot(surfaceId: string) {
       console.info(`doSurfaceShot surfaceId:${surfaceId}.`);
       if (surfaceId === '') {
         console.error('surface not ready!');
         return;
       }
       try {
         if (BlurAnimateUtil.surfaceShot) {
           await BlurAnimateUtil.surfaceShot.release();
         }
         BlurAnimateUtil.surfaceShot = await image.createPixelMapFromSurface(surfaceId, {
           size: { width: 1920, height: 1080 }, // 取预览流profile的宽高。
           x: 0,
           y: 0
         });
         let imageInfo: image.ImageInfo = await BlurAnimateUtil.surfaceShot.getImageInfo();
         console.info('doSurfaceShot surfaceShot:' + JSON.stringify(imageInfo.size));
       } catch (err) {
         console.error(err);
       }
     }

     /**
      * 获取doSurfaceShot得到的截图
      * @returns
      */
     public static getSurfaceShot(): image.PixelMap {
       return BlurAnimateUtil.surfaceShot;
     }
   }
- 构建截图组件。
此处定义一个截图组件,置于预览流XComponent组件之上,用来遮挡XComponent组件。
属性定义:
   @State isShowBlur: boolean = false; // 是否显示截图组件。
   @StorageLink('modeChange') @Watch('onModeChange') modeChangeFlag: number = 0; // 模式切换动效触发入口。
   @StorageLink('switchCamera') @Watch('onSwitchCamera') switchCameraFlag: number = 0;// 前后置切换动效触发入口。
   @StorageLink('frameStart') @Watch('onFrameStart') frameStartFlag: number = 0; // 动效消失入口。
   @State screenshotPixelMap: image.PixelMap|undefined = undefined; // 截图组件PixelMap。
   @State surfaceId: string = ''; // 当前预览流XComponent的surfaceId。
   @StorageLink('curPosition') curPosition: number = 0; // 当前镜头前后置状态。
   @State shotImgBlur: number = 0; // 截图组件模糊度。
   @State shotImgOpacity: number = 1; // 截图组件透明度。
   @State shotImgScale: ScaleOptions = { x: 1, y: 1 }; // 截图组件比例。
   @State shotImgRotation: RotateOptions = { y: 0.5, angle: 0 } // 截图组件旋转角度。
截图组件的实现参考:
   // 截图组件,置于预览流XComponent组件之上。
   if (this.isShowBlur) {
     Column() {
       Image(this.screenshotPixelMap)
         .blur(this.shotImgBlur)
         .opacity(this.shotImgOpacity)
         .rotate(this.shotImgRotation)// ArkUI提供,用于组件旋转。
         .scale(this.shotImgScale)
         .width(this.getUIContext().px2vp(1080)) // 与预览流XComponent宽高保持一致,图层在预览流之上。
         .height(this.getUIContext().px2vp(1920))
         .syncLoad(true)
     }
     .width(this.getUIContext().px2vp(1080))
     .height(this.getUIContext().px2vp(1920))
   }
- (按实际情况选择)实现模糊出现动效。
模式切换动效分两段实现,模糊出现动效和模糊消失动效。
模糊出现动效:用户点击或触控事件触发预览流截图,显示截图组件,截图清晰到模糊,覆盖旧预览流。
注意:由于图形提供的image.createPixelMapFromSurface接口是截取surface内容获取PixelMap,其内容和XComponent组件绘制逻辑不同,需要根据前后置镜头做不同的图片内容旋转补偿和组件旋转补偿。
   async showBlurAnim() {
     console.info('showBlurAnim E');
     // 获取已完成的surface截图。
     let shotPixel = BlurAnimateUtil.getSurfaceShot();
     // 后置。
     if (this.curPosition === 0) {
       console.info('showBlurAnim BACK');
       // 直板机后置截图初始内容旋转补偿90°。
       await shotPixel.rotate(90); //ImageKit提供,用于图片内容旋转。
       // 直板机后置截图初始组件旋转补偿0°。
       this.shotImgRotation = { y: 0.5, angle: 0 };
     } else {
       console.info('showBlurAnim FRONT');
       // 直板机前置截图内容旋转补偿270°。
       await shotPixel.rotate(270);
       // 直板机前置截图组件旋转补偿180°。
       this.shotImgRotation = { y: 0.5, angle: 180 };
     }
     this.screenshotPixelMap = shotPixel;
     // 初始化动效参数。
     this.shotImgBlur = 0; // 无模糊。
     this.shotImgOpacity = 1; // 不透明。
     this.isShowBlur = true;  // 显示截图组件。
     animateToImmediately(
       {
         duration: 200,
         curve: Curve.Friction,
         onFinish: async () => {
           console.info('showBlurAnim X');
         }
       },
       () => {
         this.shotImgBlur = 48; // 截图组件模糊度变化动效。
       }
     );
   }
- 实现模糊消失动效。
模糊消失动效:由新模式预览流首帧回调on(‘frameStart’)触发,截图组件模糊到清晰,显示新预览流。
   hideBlurAnim(): void {
     this.isShowBlack = false;
     console.info('hideBlurAnim E');
     animateToImmediately({
       duration: 200,
       curve: Curve.FastOutSlowIn,
       onFinish: () => {
         this.isShowBlur = false; // 模糊组件下树。
         this.shotImgBlur = 0;
         this.shotImgOpacity = 1;
         console.info('hideBlurAnim X');
       }
     }, () => {
       // 截图透明度变化动效。
       this.shotImgOpacity = 0; // 截图组件透明度变化动效。
     });
   }
- (按实际情况选择)实现模糊翻转动效。
模糊翻转动效分两段实现,模糊翻转动效和模糊消失动效,其中模糊消失动效同第5步。
模糊翻转动效:分两段组件翻转实现,先向外翻转90°再向内翻转90°,同时还执行了模糊度、透明度、比例缩放等动效。
为保证预览流在翻转时不露出,需要构建一个闪黑组件用于遮挡XComponent组件,构建方式参考闪黑动效-步骤2。
   /**
    * 先向外翻转90°,前后置切换触发
    */
   async rotateFirstAnim() {
     console.info('rotateFirstAnim E');
     // 获取已完成的surface截图。
     let shotPixel = BlurAnimateUtil.getSurfaceShot();
     // 后置切前置。
     if (this.curPosition === 1) {
       console.info('rotateFirstAnim BACK');
       // 直板机后置切前置截图初始内容旋转补偿90°。
       await shotPixel.rotate(90); //ImageKit提供,用于图片内容旋转。
       // 直板机后置切前置截图初始组件旋转补偿0°。
       this.shotImgRotation = { y: 0.5, angle: 0 };
     } else {
       console.info('rotateFirstAnim FRONT');
       // 直板机前置切后置截图初始内容旋转补偿270°。
       await shotPixel.rotate(270);
       // 直板机前置切后置截图初始组件旋转补偿180°。
       this.shotImgRotation = { y: 0.5, angle: 180 };
     }
     this.screenshotPixelMap = shotPixel;
     this.isShowBlack = true; // 显示闪黑组件,覆盖预览流保证视觉效果。
     this.isShowBlur = true; // 显示截图组件。
     animateToImmediately(
       {
         duration: 200,
         delay: 50, // 时延保证组件缩放模糊动效先行,再翻转,视觉效果更好。
         curve: curves.cubicBezierCurve(0.20, 0.00, 0.83, 1.00),
         onFinish: () => {
           console.info('rotateFirstAnim X');
           // 在onFinish后触发二段翻转。
           this.rotateSecondAnim();
         }
       },
       () => {
         // 截图向外翻转动效。
         if (this.curPosition === 1) {
           this.shotImgRotation = { y: 0.5, angle: 90 };
         } else {
           this.shotImgRotation = { y: 0.5, angle: 270 };
         }
       }
     )
   }

   /**
    * 再向内翻转90°
    */
   async rotateSecondAnim() {
     console.info('rotateSecondAnim E');
     // 获取已完成的surface截图。
     let shotPixel = BlurAnimateUtil.getSurfaceShot();
     // 后置。
     if (this.curPosition === 1) {
       // 直板机后置镜头内容旋转补偿90°。
       await shotPixel.rotate(90);
       // 组件旋转调整为-90°,保证二段翻转后,图片不是镜像的。
       this.shotImgRotation = { y: 0.5, angle: 90 };
     } else { // 前置。
       // 直板机前置截图内容旋转补偿270°。
       await shotPixel.rotate(270);
       // 直板机前置截图组件旋转补偿180°。
       this.shotImgRotation = { y: 0.5, angle: 180 };
     }
     this.screenshotPixelMap = shotPixel;
     animateToImmediately(
       {
         duration: 200,
         curve: curves.cubicBezierCurve(0.17, 0.00, 0.20, 1.00),
         onFinish: () => {
           console.info('rotateSecondAnim X');
         }
       },
       () => {
         // 截图向内翻转动效,翻转至初始状态。
         if (this.curPosition === 1) {
           this.shotImgRotation = { y: 0.5, angle: 0 };
         } else {
           this.shotImgRotation = { y: 0.5, angle: 180 };
         }
       }
     )
   }

   /**
    * 向外翻转90°同时
    */
   blurFirstAnim() {
     console.info('blurFirstAnim E');
     // 初始化动效参数。
     this.shotImgBlur = 0; //无模糊。
     this.shotImgOpacity = 1; //不透明。
     this.shotImgScale = { x: 1, y: 1 };
     animateToImmediately(
       {
         duration: 200,
         curve: Curve.Sharp,
         onFinish: () => {
           console.info('blurFirstAnim X');
           this.blurSecondAnim();
         }
       },
       () => {
         // 截图模糊动效。
         this.shotImgBlur = 48;
         // 截图比例缩小动效。
         this.shotImgScale = { x: 0.75, y: 0.75 };
       }
     );
   }

   /**
    * 向内翻转90°同时
    */
   blurSecondAnim() {
     console.info('blurSecondAnim E');
     animateToImmediately(
       {
         duration: 200,
         curve: Curve.Sharp,
         onFinish: () => {
           console.info('blurSecondAnim X');
         }
       },
       () => {
         // 截图比例恢复动效。
         this.shotImgScale = { x: 1, y: 1 };
       }
     )
   }
- 按需触发动效。
模式切换动效触发:点击或触控模式按钮立即执行doSurfaceShot截图方法,更新StorageLink绑定modeChange的值,触发onModeChange方法,开始动效。
   onModeChange(): void {
     console.info('onModeChange');
     this.showBlurAnim();
   }
前后置切换动效触发:点击或触控前后置切换按钮立即执行doSurfaceShot截图方法,更新StorageLink绑定switchCamera的值,触发onSwitchCamera方法,开始动效。
   onSwitchCamera(): void {
     console.info('onSwitchCamera');
     this.blurFirstAnim();
     this.rotateFirstAnim();
   }
模糊消失动效触发:监听预览流首帧回调on(‘frameStart’),更新StorageLink绑定frameStart的值,触发onFrameStart方法,开始动效。
   onFrameStart(): void {
     console.info('onFrameStart');
     this.hideBlurAnim();
   }
你可能感兴趣的鸿蒙文章
harmony 鸿蒙高性能拍照实践(仅对系统应用开放)(ArkTS)
harmony 鸿蒙高性能拍照(仅对系统应用开放)(ArkTS)
- 所属分类: 后端技术
- 本文标签: